Make your own books! It’s not that hard, i’ll show you.
📖 This is what we’re going to make: a soft-cover notebook with 96 pages, ≈10×14cm

index
3 binding
4 cutting
rock paper scissors
Yes you need a stone for this! Well OK, not really, you could use other heavy objects as well. Here’s a list of materials needed:

1 12 sheets of paper for the inside of the book. I used an ordinary recycled copy paper (≈80gsm, size DIN A4, 21×29.7cm) 📑
2 2 sheets of paper for the front and back cover. I used a little stronger cardboard paper, yet not too thick, you have to fold it as well! (size DIN A5, 14,8×21cm)
3 1 sheet of paper. Nothing special, only used for a template (size DIN A5, 14,8×21cm)
4 A needle.
5 Bookbinding threads. Compared to other threads used for sewing etc. these are waxed and have a good strength. You could use linen, cotton, nylon, polyester, silk threads… whatever makes you happy, just make sure your thread is not too thin/thick and is waxed (you could do that yourself, if you don’t want to purchase some extra threads)
6 Folding bone. You can also use a wooden/plastic ruler etc. If you want to purchase one of these (which is really a great tool for folding!), please buy a folding bone made of plastic or bamboo/wood, not actual animal bones… ♥ 🐑🐤 ♥
7 Stitching awl. You can also use a thick needle.
8 Box cutter, knife. If you have access to a paper cutting machine in an office, copy shop or printshop, even better!
9 (Metal) ruler
10 Glue. Bookbinding glue is usually called Planatol, wood glue also works i guess.
11 2 wooden plates.
12 Some heavy objects.
13 Adhesive textile bookbinding tape. If you don’t have i’m sure you’ll have other nice ideas for decorating your book spine :)
14 A pencil. ✏
folding & puncturing
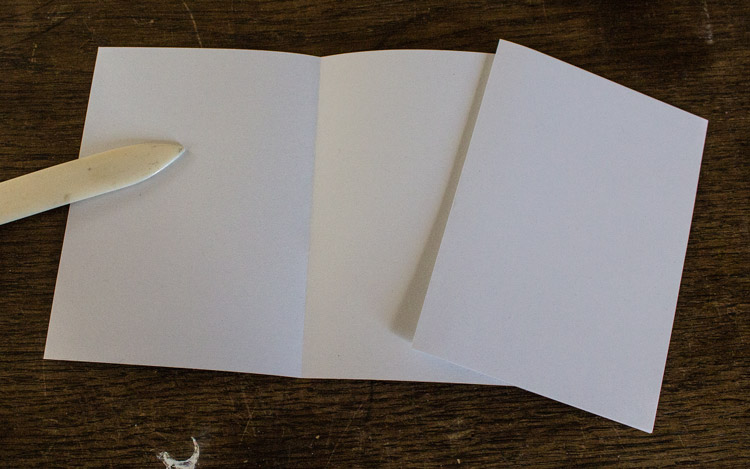
Let’s begin with the front and back cover. It’s not really common to bind the cover with the rest of the book, you get 4 cover pages instead of 2, which is a bit weird? But i did once and found it very durable and easy (you don’t have to glue the cover in an extra step…). Just fold the paper once in the middle and we’re done.
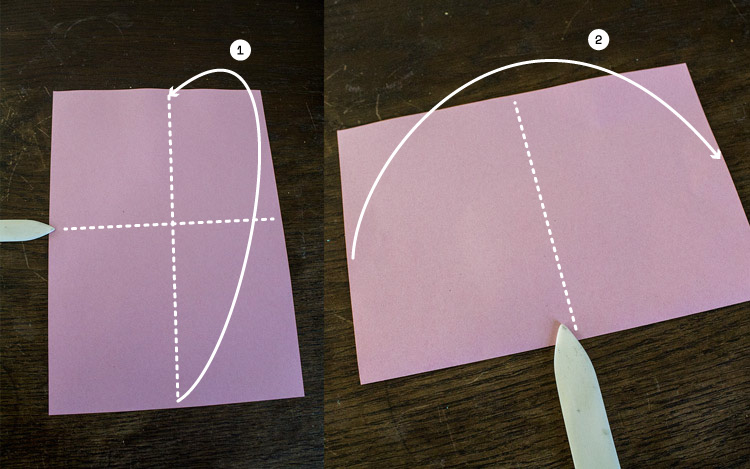
All twelve sheets for the inside will be folded two times, so we don’t have to cut them all to size first. We will cut the whole book in the end anyways. Another reason for the format is the paper grain direction. The paper i used had long grain direction, which is common for A4 copy paper. Folding should always happen parallel to grain direction, otherwise the book can open by itself…
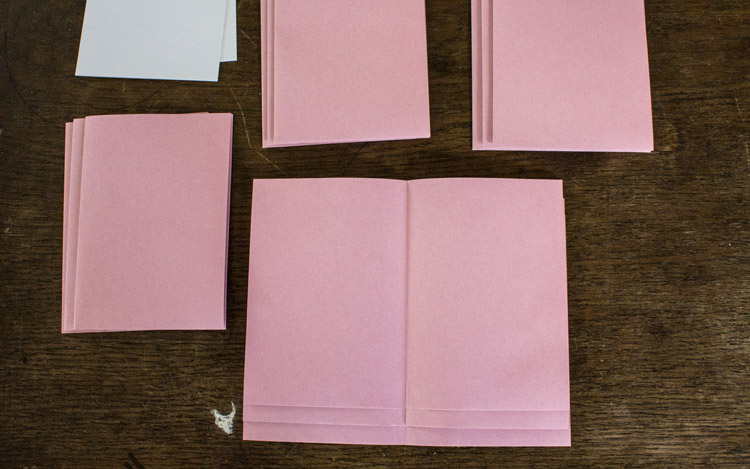
We have to divide all our folded papers to different sections (with only 1 section we’d be doin a zine-tutorial here…). If you’re doing more pages please note, the number of sections must be an even number for this binding technique. Place 3 folded sheets inside each other, so we have 4 sections (+ 2 cover sections). Each folded sheet will make 8 pages in the end, so 3×8 = 24 pages per section. 24×4 = 96 pages.
When sorting pages, make sure all folds are on one side of the book.
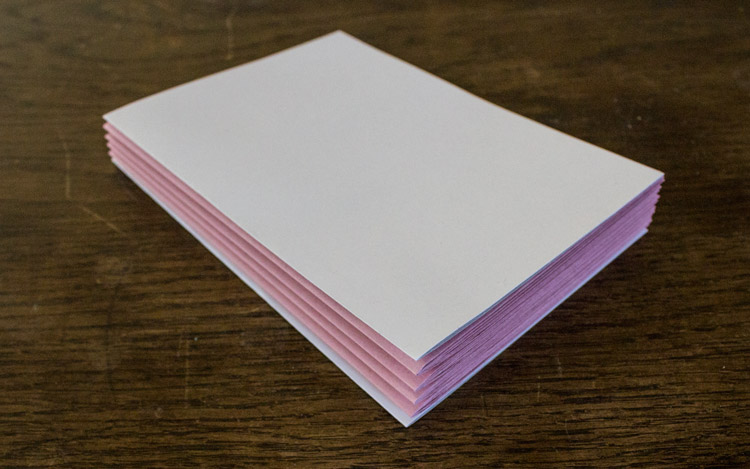
That’s what we want to bind.
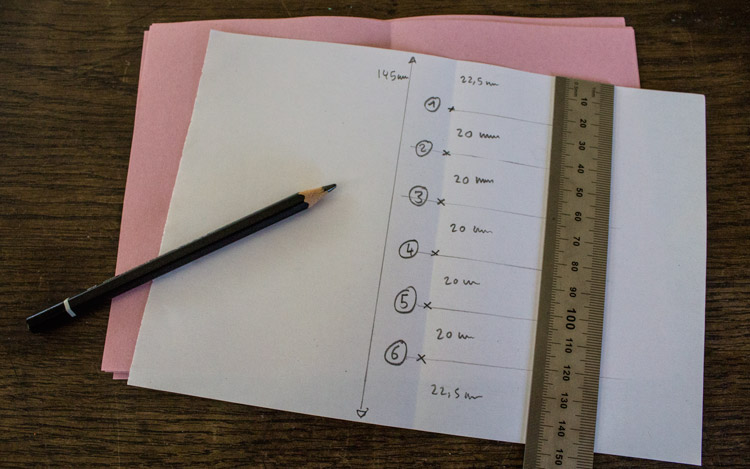
For binding we need holes that are positioned the same for all sections. We take the additional loose DIN A5 paper as a template and mark six holes with a regular spacing. You can vary on number and spacing, but make sure the number of holes is an even number!
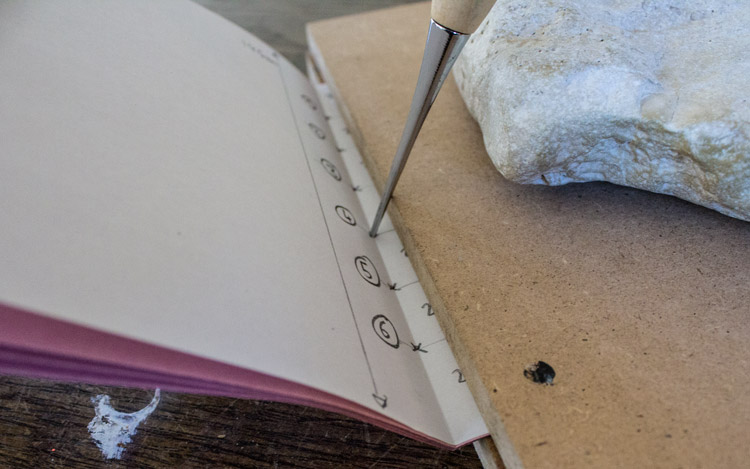
For puncturing the holes we go section by section. Put one section with the template between the wooden plates and put a stone on top to fix it.
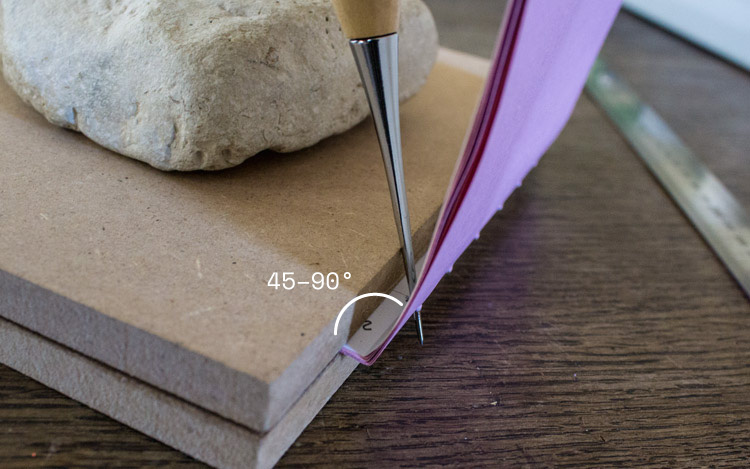
OK the previous picture might be misleading, it’s easier to puncture the holes by holding the paper slightly angled.
binding
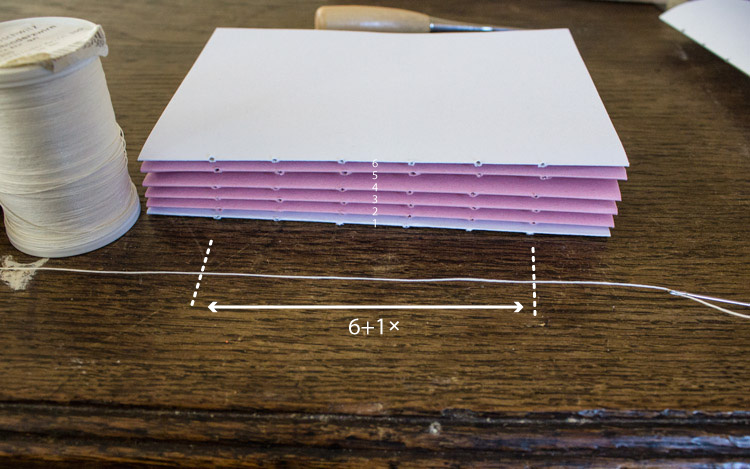
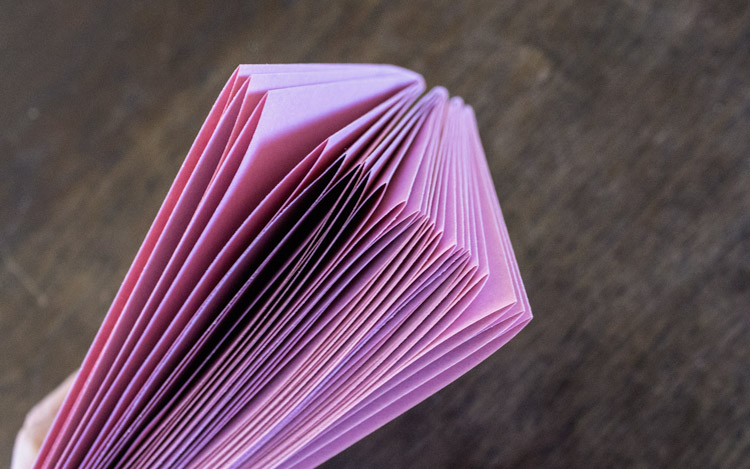
If you put all your folded and punctured sections together, the holes should be more or less at the same position. Now we cut the thread. For measuring the length of thread needed, just use the number of sections + some more, maybe 1 or two lengths… you don’t want to run short on thread, but also not waste too much…
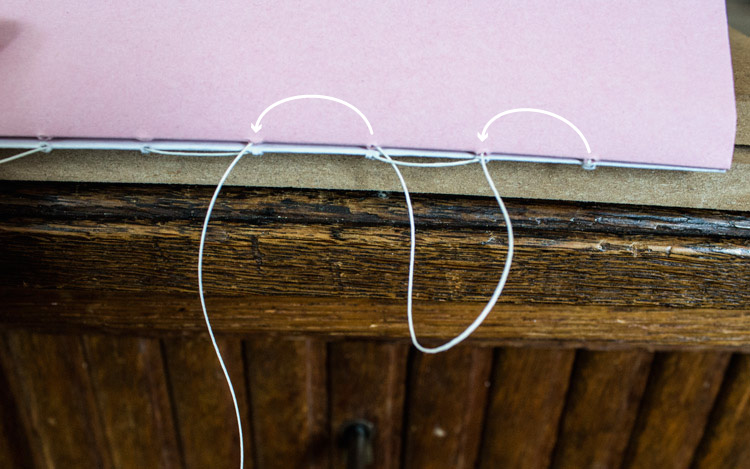
Finally: BINDING! We start with one of the cover sections and put it between the plates again. Pass the thread through all the holes from left to right, as marked on the picture. Pull the thread tight at the end, but be careful not to tear the paper. Also leave some thread hang loose at the end.
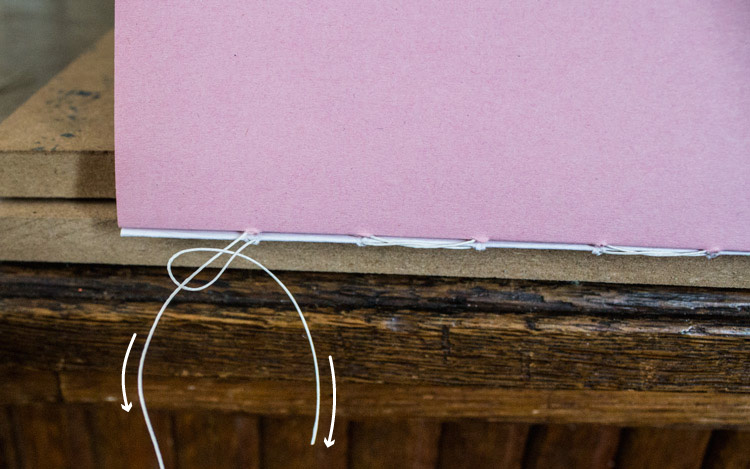
Remove the top plate and put the next section carefully exactly on top of the first one, fix it again with the wooden plate + stone.
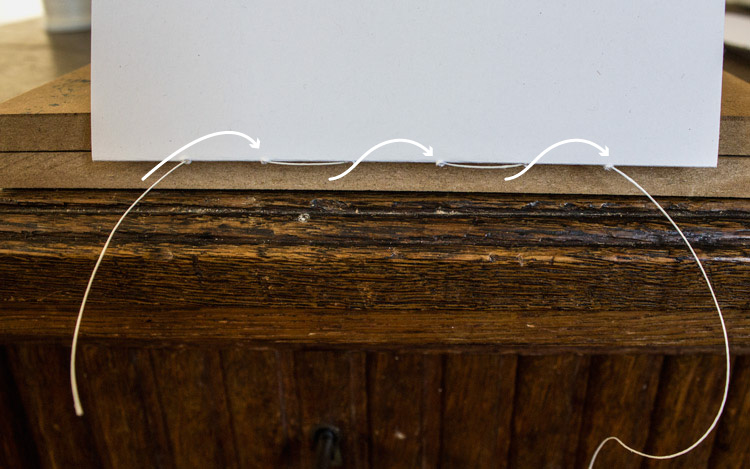
Now we bind from right to left and make sure the needle passes under the thread of the cover.

Always, always pull the thread tight, but careful (especially when using thin paper).
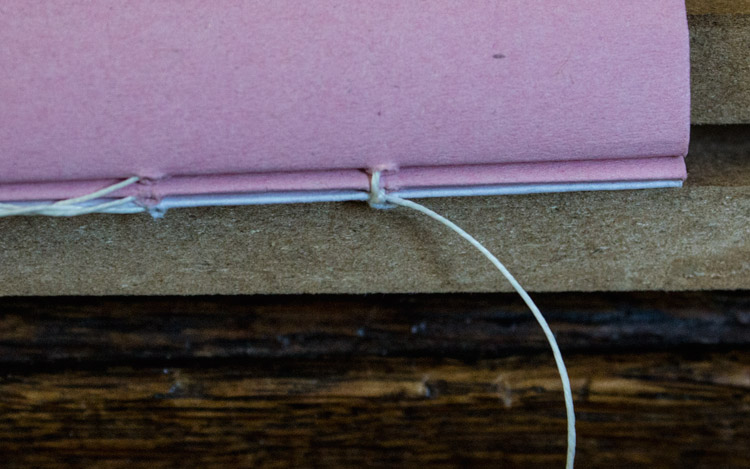
When we reach the end, we pull the thread for both bound sections tight again. And then knot both sections together. Please note, only make a knot here on the first two sections!

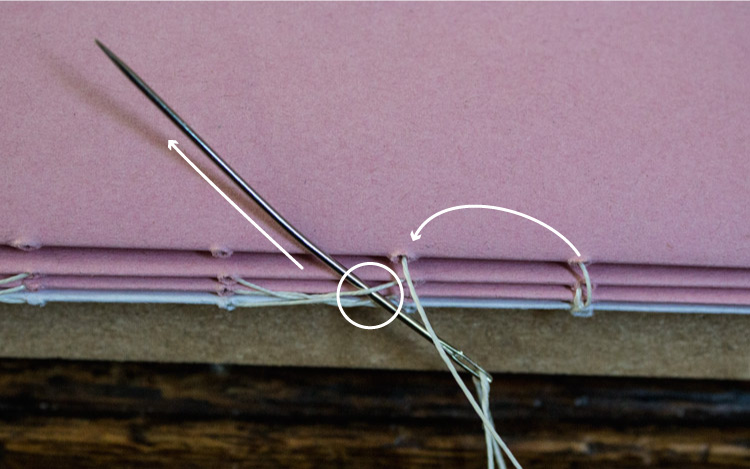
OK good! Next section, binding from left to right again. This time we pass the needle under the previous section’s thread.
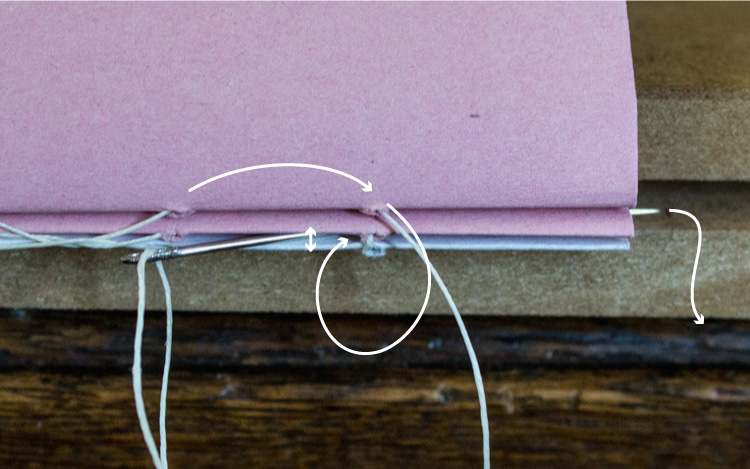
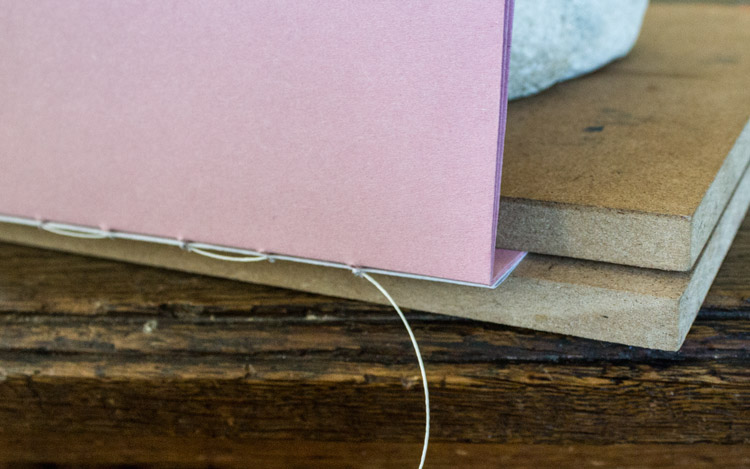
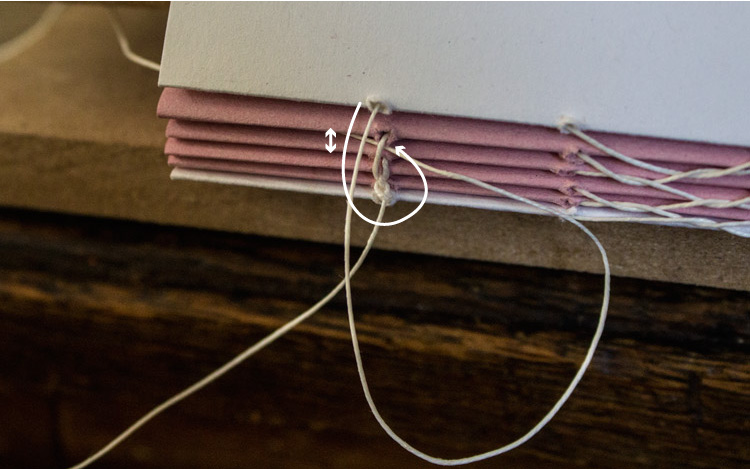
Reaching the end we don’t knot this time, but fix the sections together in another way. Move the needle carefully beneath first and second section and pull it tight.
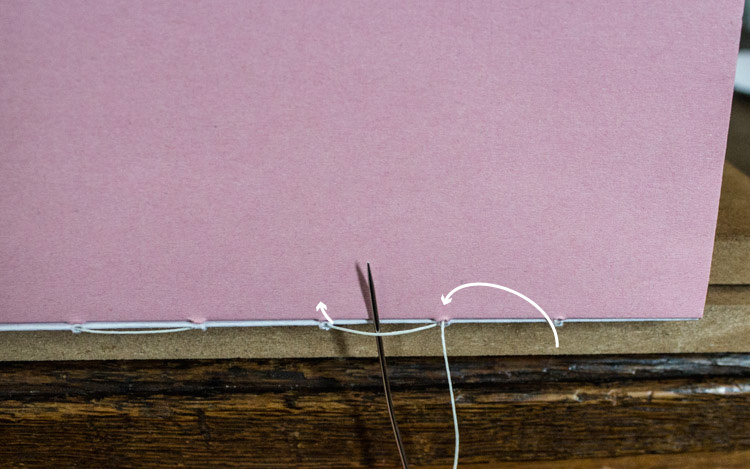
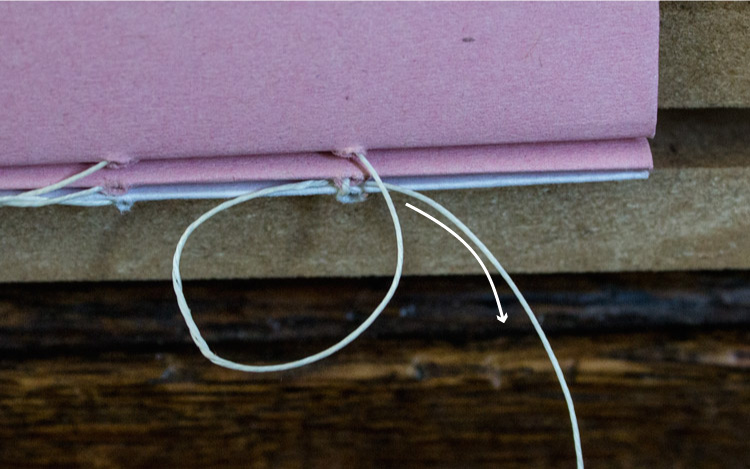
Next section, other direction… remember to pass the needle under the thread like on the picture.
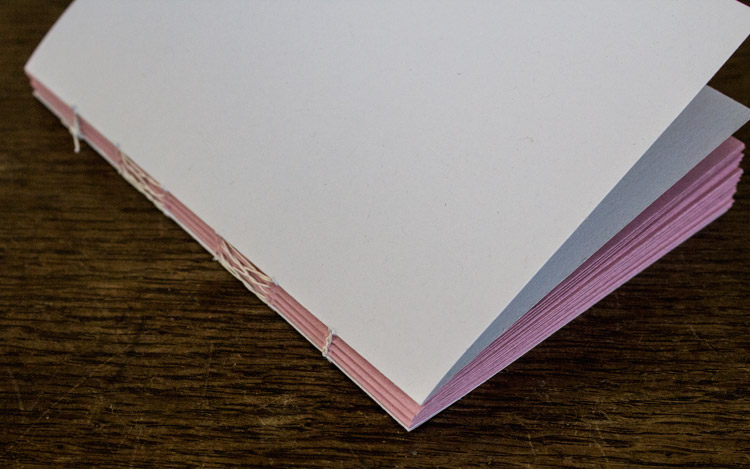
Bind your way through like this. Most important things for a good result: 1 pulling the thread tight in each section, 2 don’t forget to move the needle under the previous section’s thread when coming out of the book and 3 fix the ends of sections together. 4 don’t hurry, enjoy :-)
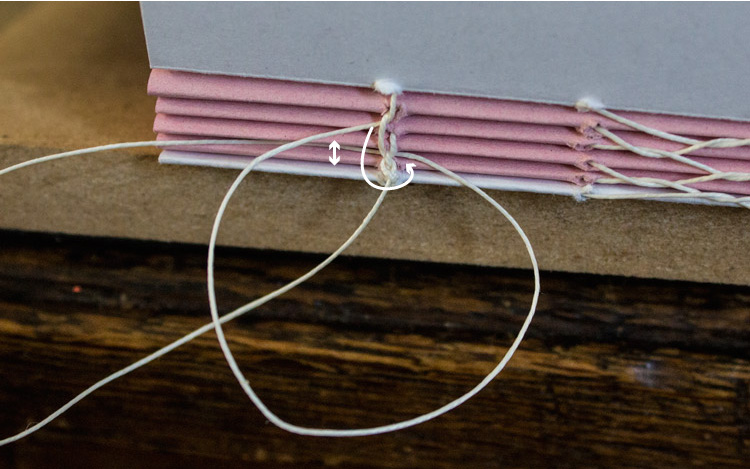
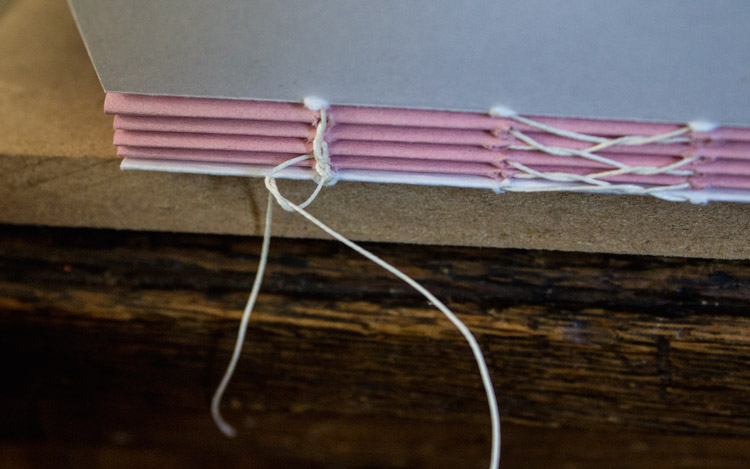
OK now we have all sections bound. We need to knot one last time, and “go down” with the needle to our loose end from the start. Knot the ends together.
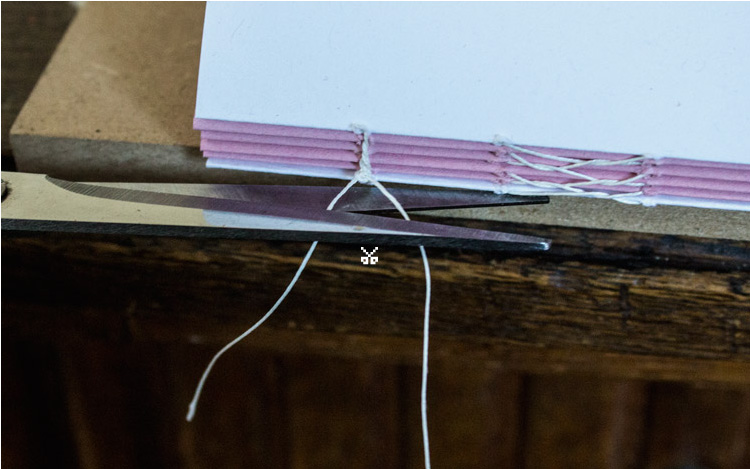
Oh no, i didn’t mention the scissors on the material list! I hope you have a pair at home, because we need to *schnipp-schnapp* cut the rest of the thread.
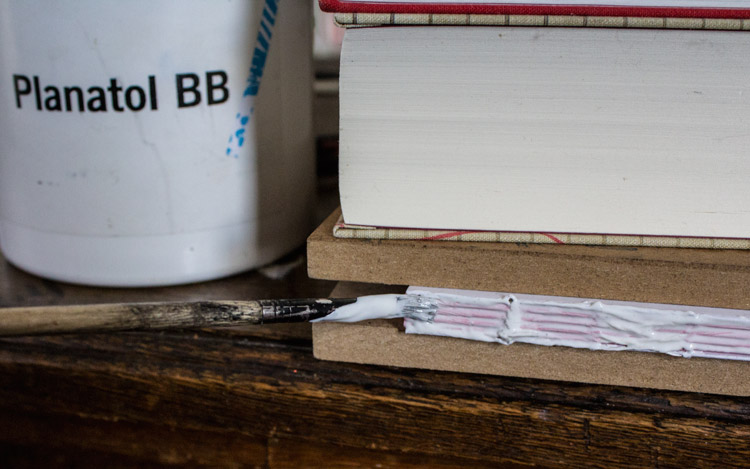
Our bound book will not fall apart, but is quite loose. Therefore we glue the spine now. Fix the book between the plates, use some heavy heavy books now. Don’t use too much glue on it, otherwise the paper becomes wavy when drying. ⌇⌇⌇
Now don’t don’t move the whole thing and let it dry for a short time. I guess time varies whatever glue you use. The Planatol dries quite fast. We don’t need it to be completely dry for now, just so it’s no longer soaking wet and you can move the book block.
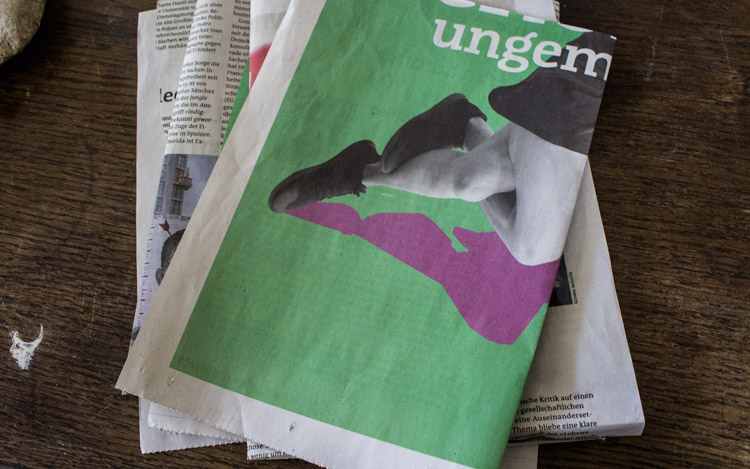
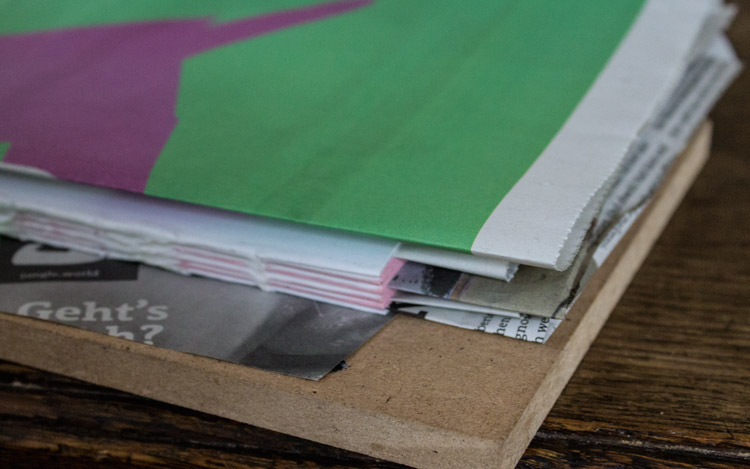
While the glue dries, you can read the newspaper and afterwards cut and fold it to size of the book. Remove the plate carefully and bring the book to its final form, lightly strike the book on the bottom side and shift it a little bit, if the spine is not straight. The newspaper is placed in the book so that it absorbs the moisture during drying.
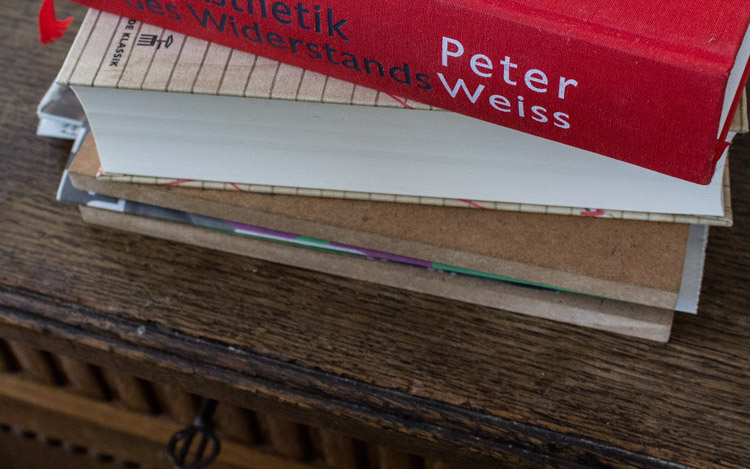
For final drying place the book completely under the two wooden plates and use all weight you can find to give some good pressure on it, you know, build a book tower on top of it, or use a press of course… Let it dry overnight.
cutting
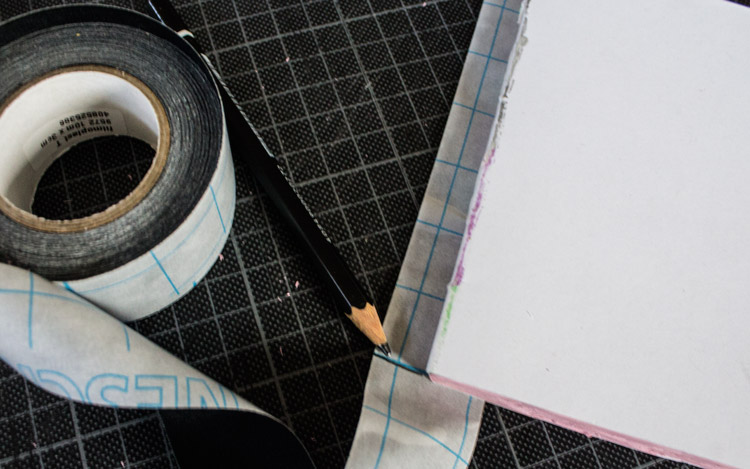
We get the book out of the press and continue with attaching the bookbinding tape around the spine, to cover it. This is not really necessary, but it looks nice… you can cover with other tape or glued paper or or… whatever you want.
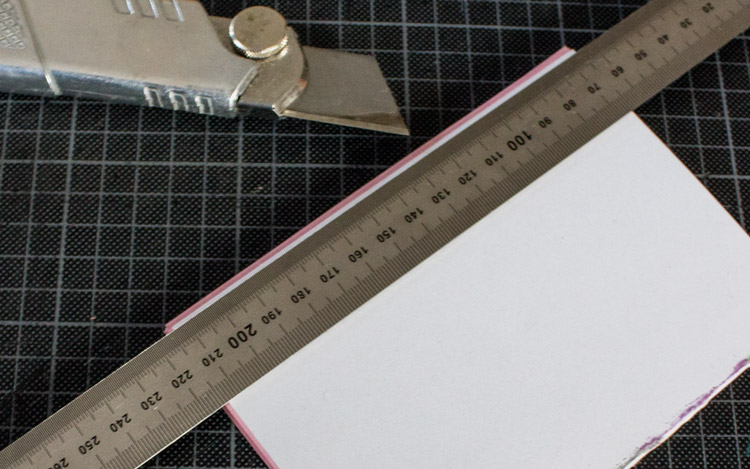

96 pages make quite a thick book to cut by hand. If you have access to a paper cutting machine, it will make a difference! Actually i had to do a weird mix of cutting techniques, because the machine’s knife is not that sharp and couldn’t cut the whole block. So i cut the front side by hand and opened the book in the middle to cut the bottom and top sides with the machine. Confusing… yes, but it worked somehow 😆
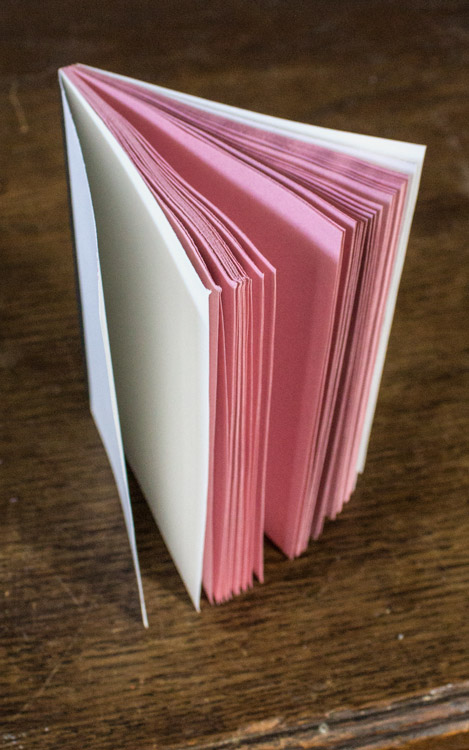
😍 Yay! 😍
That’s it. Wooohoo we made our own notebook!
what else is there in the backyard?